
If you’ve had a look on previous posts on our Python SDK, you have a already a pretty good idea about scripts you can run against PMA.start (or PMA.core) for retrieving image data, Slide visualization…
Most of the times running code locally is all what’s needed, however there are situations where being able to run it online and share it with collaborators (students, colleagues…) on the other side of the globe can come very handy and offer a richer and more interactive experience.
There are couple of free/paid services to run & share Python code online, our focus in this tutorial will be on Azure notebooks powered by Jupyter.
What are Azure notebooks & Jupyter?
As stated on the official documentation, Azure Notebooks is a free service for anyone to develop and run code in their browser using Jupyter. Jupyter is an open source project that enables combing markdown prose, executable code, and graphics onto a single canvas.
Azure Notebooks currently supports Python 2, Python 3, R and F# and their popular packages (e.g for Python the Anaconda distro is preinstalled), but our focus for the moment will be on Python 3 since it’s the minimum required version for the Python SDK
Your first Azure notebooks project
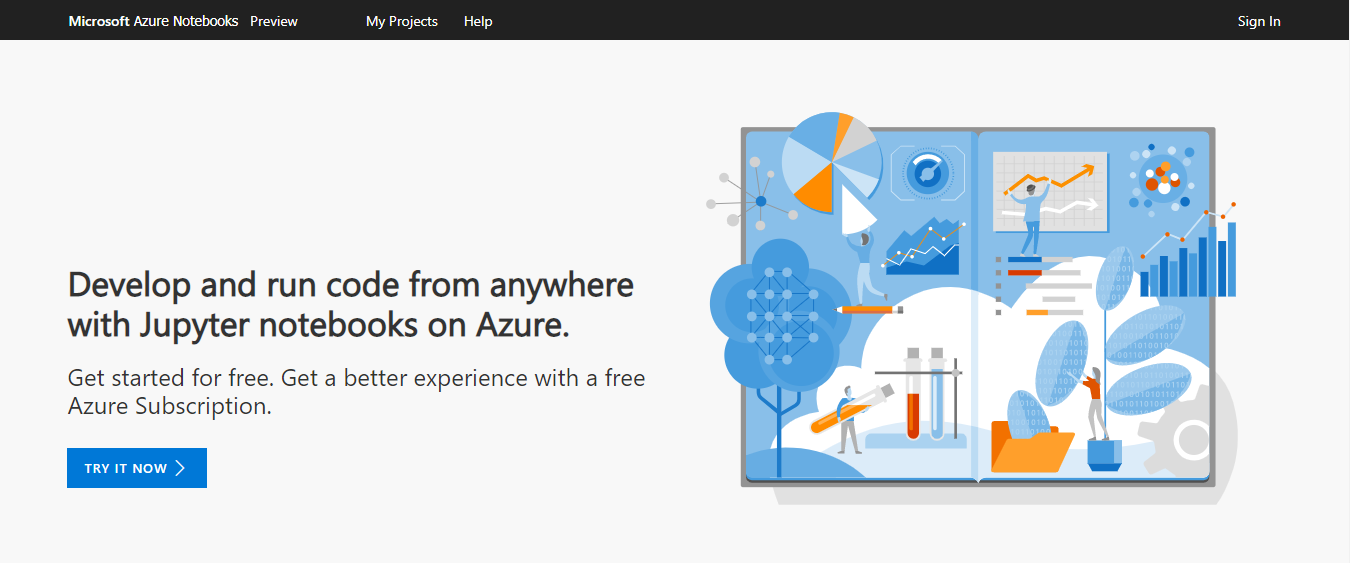
To create your first Azure notebooks project, navigate to the home page
click on Try it now then login (any Microsoft, Gmail,…. email address).
Once successfully logged in, navigate to section My Projects
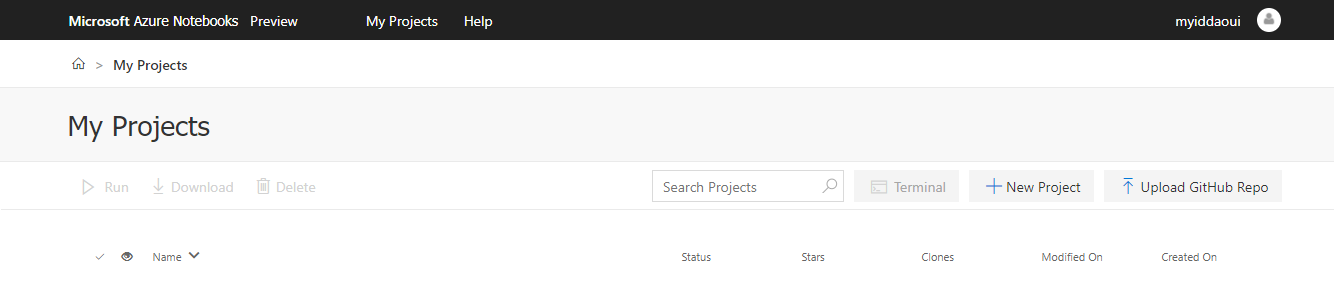
Click on button New Project :
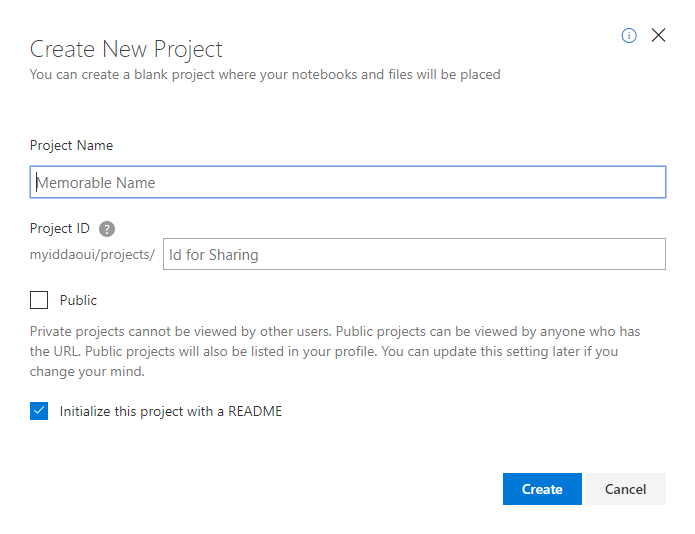
Introduce a Project name and and ID then click on Create (It’s worth mentioning that you have to set the project as Public if you wish to be able to share your notebooks with other users)
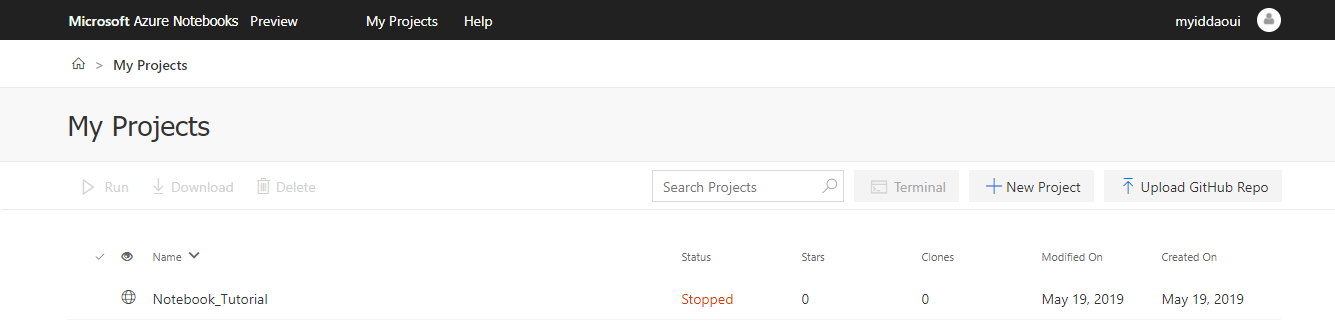
Click on the newly created project :
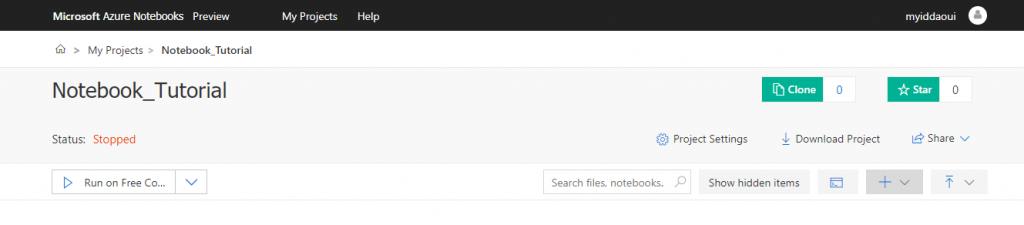
Notebooks are organized by projects, this makes it very efficient to create separate projects depending on scripts, target hosts and target audience to share notebooks with.
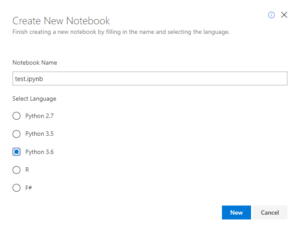
To create a new notebook, click on menu + then select Notebook. Add a name for the notebook and select your Python 3 version (either 3.5 or 3.6 as both compatible with the Python SDK)
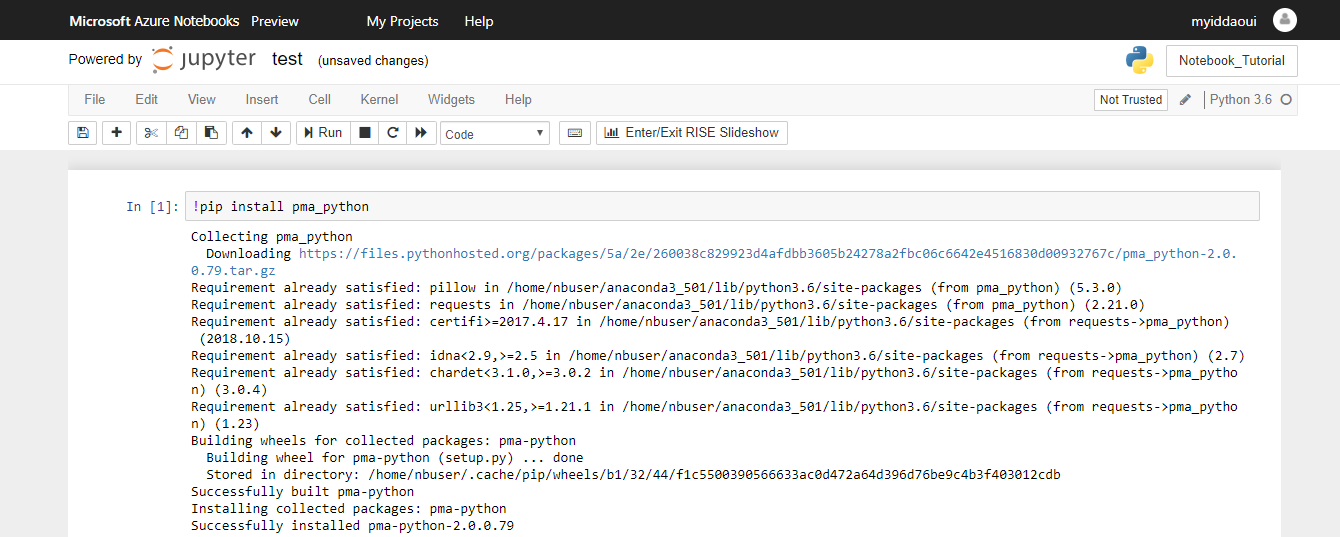
Notebooks are organized into cells, each cell can contain one or multiple python scripts to execute.
First cell should always be the following one as it’s required to install first pma_python packages on the running server before being able to interact with the Python SDK.
From there on you can add as many cells as you wish to interact with the Python SDK via scripts we introduced on previous posts or ones you create yourself.
Once your notebook modified and saved, you can easily share the created project with other users via share button on My projects page.
The terminal
In addition to its intuitive and easy-to-use interface, Azure notebooks do provide provides access to a complete terminal running on the server. To access the terminal first click on the Jupyter icon in the upper left hand corner of your notebook server. Then click on the New button on the upper right hand side of the notebook list. Finally click Terminal.

Your newly created notebook is accessible on the running server and executing shell commands there which can be useful for downloading data, copying files, inspecting processes, or editing files with traditional Unix tools.