
We’re all familiar with basic annotation patterns like rectangles, circles, lines etcetera. Pathomation’s PMA.studio support all of the through the “Simple shapes” panel on the Annotations tab:

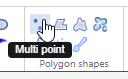
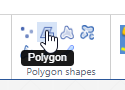
Next to this tab, a more interesting group is shown: polygon shapes. The various icons on these come from the unique way pathologists typically make their annotations.
In this article, we’re going to distinguish between all 7 buttons in the “polygon shapes” group.
Multi point
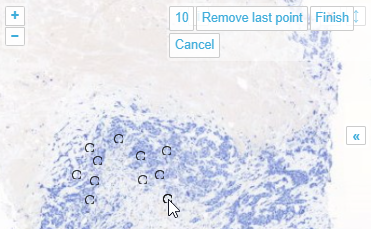
With the multi-point annotation you can quickly annotate a great amount of individual cells. A counter runs along as you indicate additional landmarks, and it is always possible to revert back on the latest annotated point.
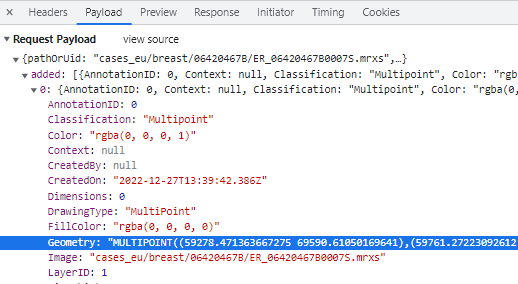
In WKT, the annotations are stored as “MULTIPOINT((x1 y1),(x2 y2),…” strings
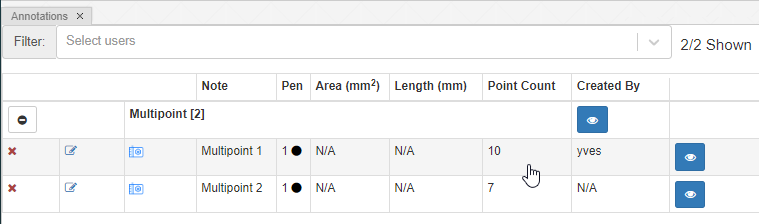
You can (of course) make multiple multi-point annotations. An overview is always available via the Annotations panel:
Polygon
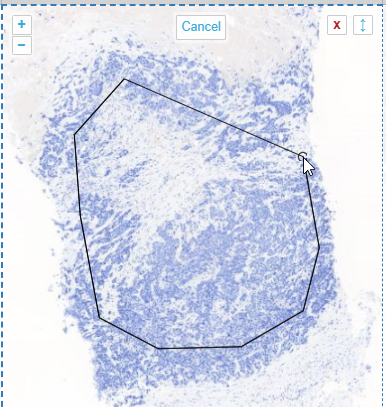
Drawing polygon is the typical run off the mill polygon annotation tool you find in many graphics tools like Photoshop, Paint.Net etcetera. The tool, as implemented, assumes there’s an automatic connection between your first and last drawn point. You finish drawing your shape by double-clicking (unlike the multi-point tool, where you need to press an explicit “Finish” button).
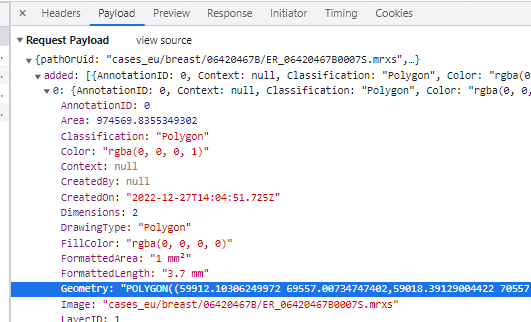
In WKT, polygons are stored as POLYGON((x1 y1,x2 y2,x3 y3,…,x1 y1)) strings. This means that when you have a polygon with 4 points, the WKT representation of it will actually indicate 5 points (the first and last one being the same).
The annotation browser this time doesn’t indicate of how many points the polygon shape is comprised.
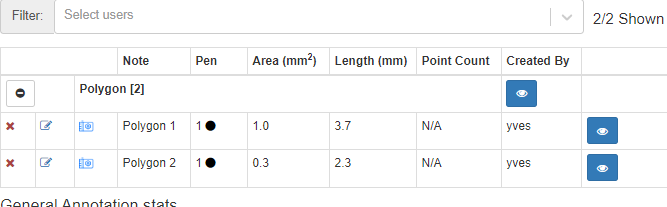
The annotation browser this time doesn’t indicate of how many points the polygon shape is comprised.
Closed freehand
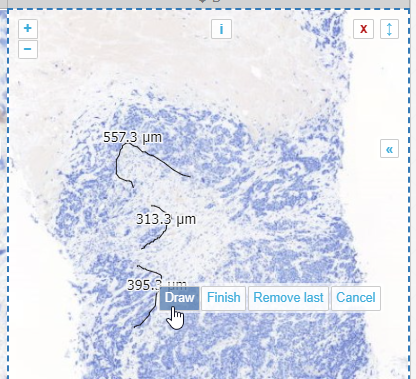
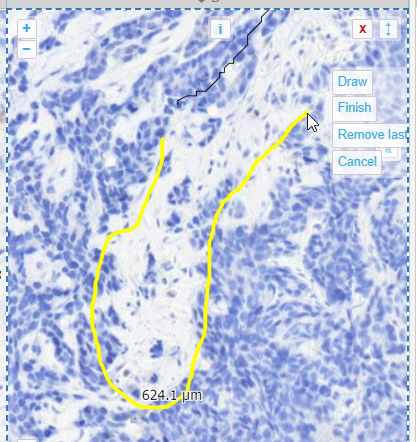
The closed freehand results is a kind of polygon shape annotation, but this time you keep the mouse button pressed down during the whole process of drawing the shape.

It’s best suited to annotate small areas at high magnification, possibly in combination with an alternative pointing device like a stylus (instead of a mouse).
Like the earlier mentioned polygon (and as the name suggests), the closed freehand is a closed form. It’s equally stored as a WKT POLYGON string:
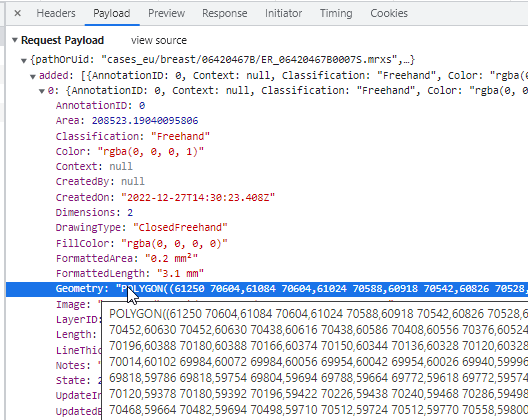
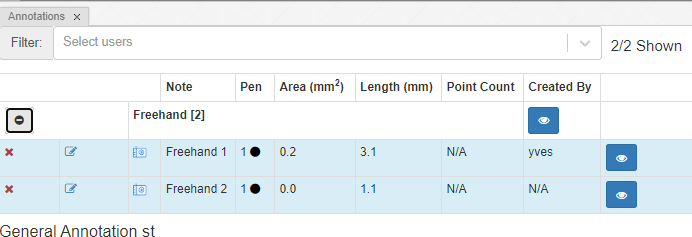
Because it’s a closed form, the annotation browser can determine both its area and surface:
Compound freehand

Right; this is one we’re particularly proud of. What’s the problem with annotating tissue regions? Sometimes you can do it at a coarse resolution, but sometimes you need a finer (higher) resolution, to indicate the exact border between two tissue types. A magic wand tool could work, but not always.
What you want to do in these cases is pan and zoom in and out a couple of times while tracing the border of your shape. But all modes of interaction with your mouse are already taken with conventional tools like polygon and closed freehand.
So the compound freehand gives you exactly that option: you can trace a boundary one segment at the time.
You zoom in and out, and pan as needed.
When you feel you have enough line segments drawn to delineate your entire area of interest, you press the “Finish” button, and all segments are joined into a single one.
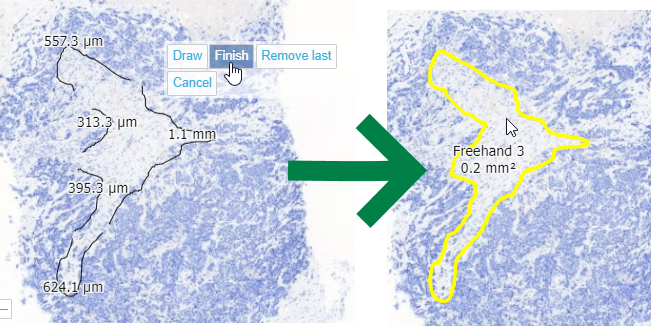
From a technical perspective, this is a PMA.UI front-end feature only (albeit a cool one!). Once completed and saved to PMA.core, the WKT representation is the same boring POLYGON:
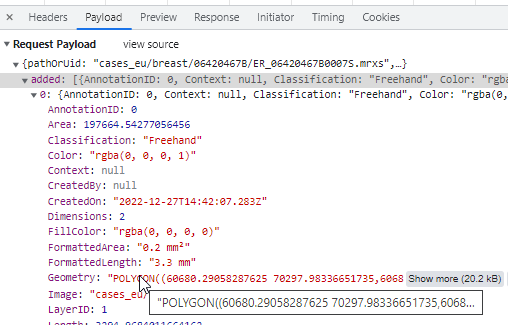
Why is this relevant? Because this means that once the different line segments are merged, it is not possible to pry them apart again into their origins.
Freehand
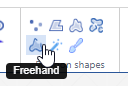
The freehand tool lets you draw an arbitrary line to indicate a margin.
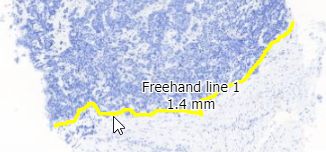
The way this is stored in WKT this time is by means of a LINESTRING. The final point can be whatever it is; it does not automatically revert back to the origin (that would make it a closed freehand).
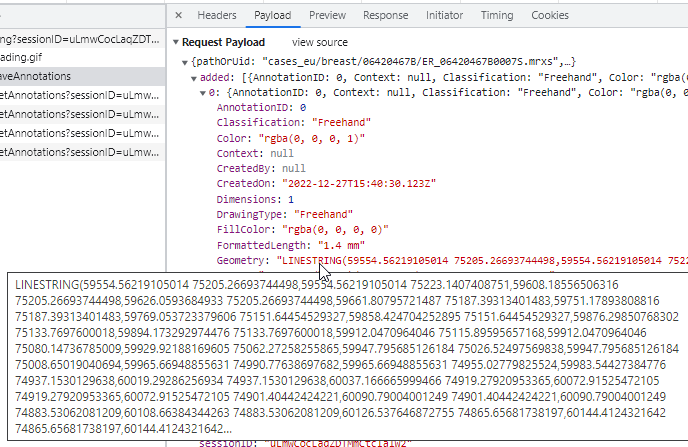
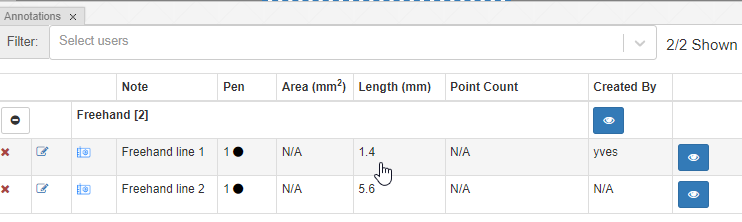
Because it’s a line this time, it’s only 1-dimensional, so there are no area measurements to display (none that would make sense anyway).
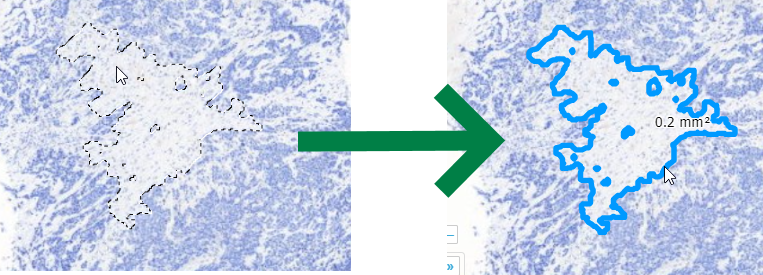
Wand
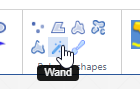
We refuse to call our wand “magic”, like in other environments. Think of our wand more as a magnetic lasso (which is another indication used oftentimes for similar tools).
The wand tool can be useful to select large regions with homogeneous coloring schemes, but we think it actually has limited use in histology and pathology. There are a number of reasons for this: Oftentimes what you really want is cell segmentation (e.g. highlight all the Ki67-positive cells), but a wand tools is not smart enough for that; it only acts on neighboring pixels (and based of the difference between already selected pixels, decides whether the next pixel is to be included or not).
Our tool can still be useful to select lumens, or perhaps regions of fatty tissue. We’re including it at least in part because people have asked us for it. Like rectangles and circles, people sort of expect it (but tell us the last time you used a rectangle or indicate a cell or a region of interest… nature just doesn’t work that way).
The Wand tool therefore is probably one of the more experimental tools we have in our arsenal. Our best advice it to play around with it a bit and see if it’s useful in your particular observations. You can tweak it and set a couple of different parameters to change its sensitivity, as well. Use it at your discretion, and let us know how we can make it work (better) for you in a subsequent version of PMA.studio.
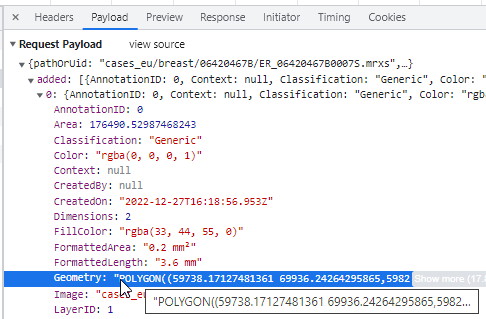
As with our compound polygon (cf. supra), technically speaking the Wand is a client-side tool. At the end of the day, it translates like all polygon-like object into the same POLYGON WKT string:
Brush
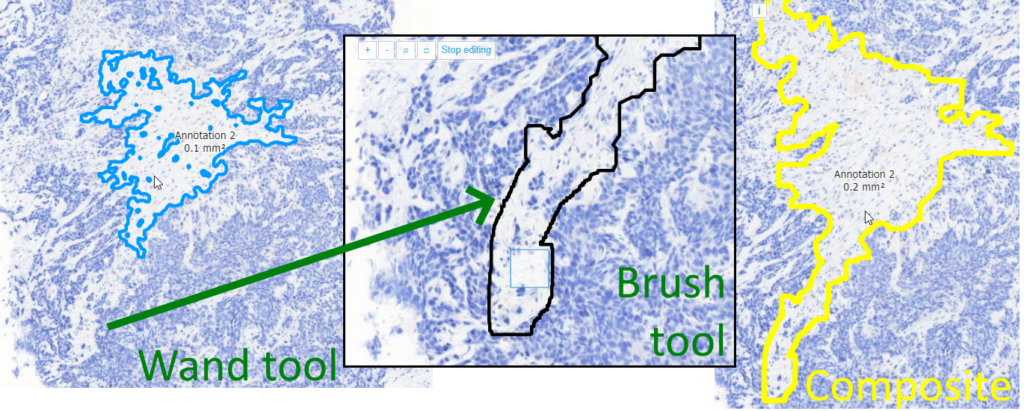
Don’t you hate it? You just spent 2 minutes painstakingly delineating a tissue feature (perhaps using the compound polygon), only to find out that you missed a couple of features.
That’s where the Brush comes in handy. You can use it on pretty much all 2D-annotations (i.e. those that have an area measurements).
The brush and the wand tool are next to each other in the ribbon, because they can actually nicely complement each other: a coarse annotation can be made with the wand, followed by a finetuning around the edges with the brush tool.
What more do you want?
PMA.studio offers advanced annotation tools, specifically designed for the whole slide image data.
We’re not saying we wrote the ultimate set of annotation tools here, but we think we’ve got the basics covered that should help you get pretty far already.
Don’t agree with how we implemented our tools? Need something else? Have an idea for something completely different? Do continue the conversation. We can only get better if you let us know what you’re looking for.