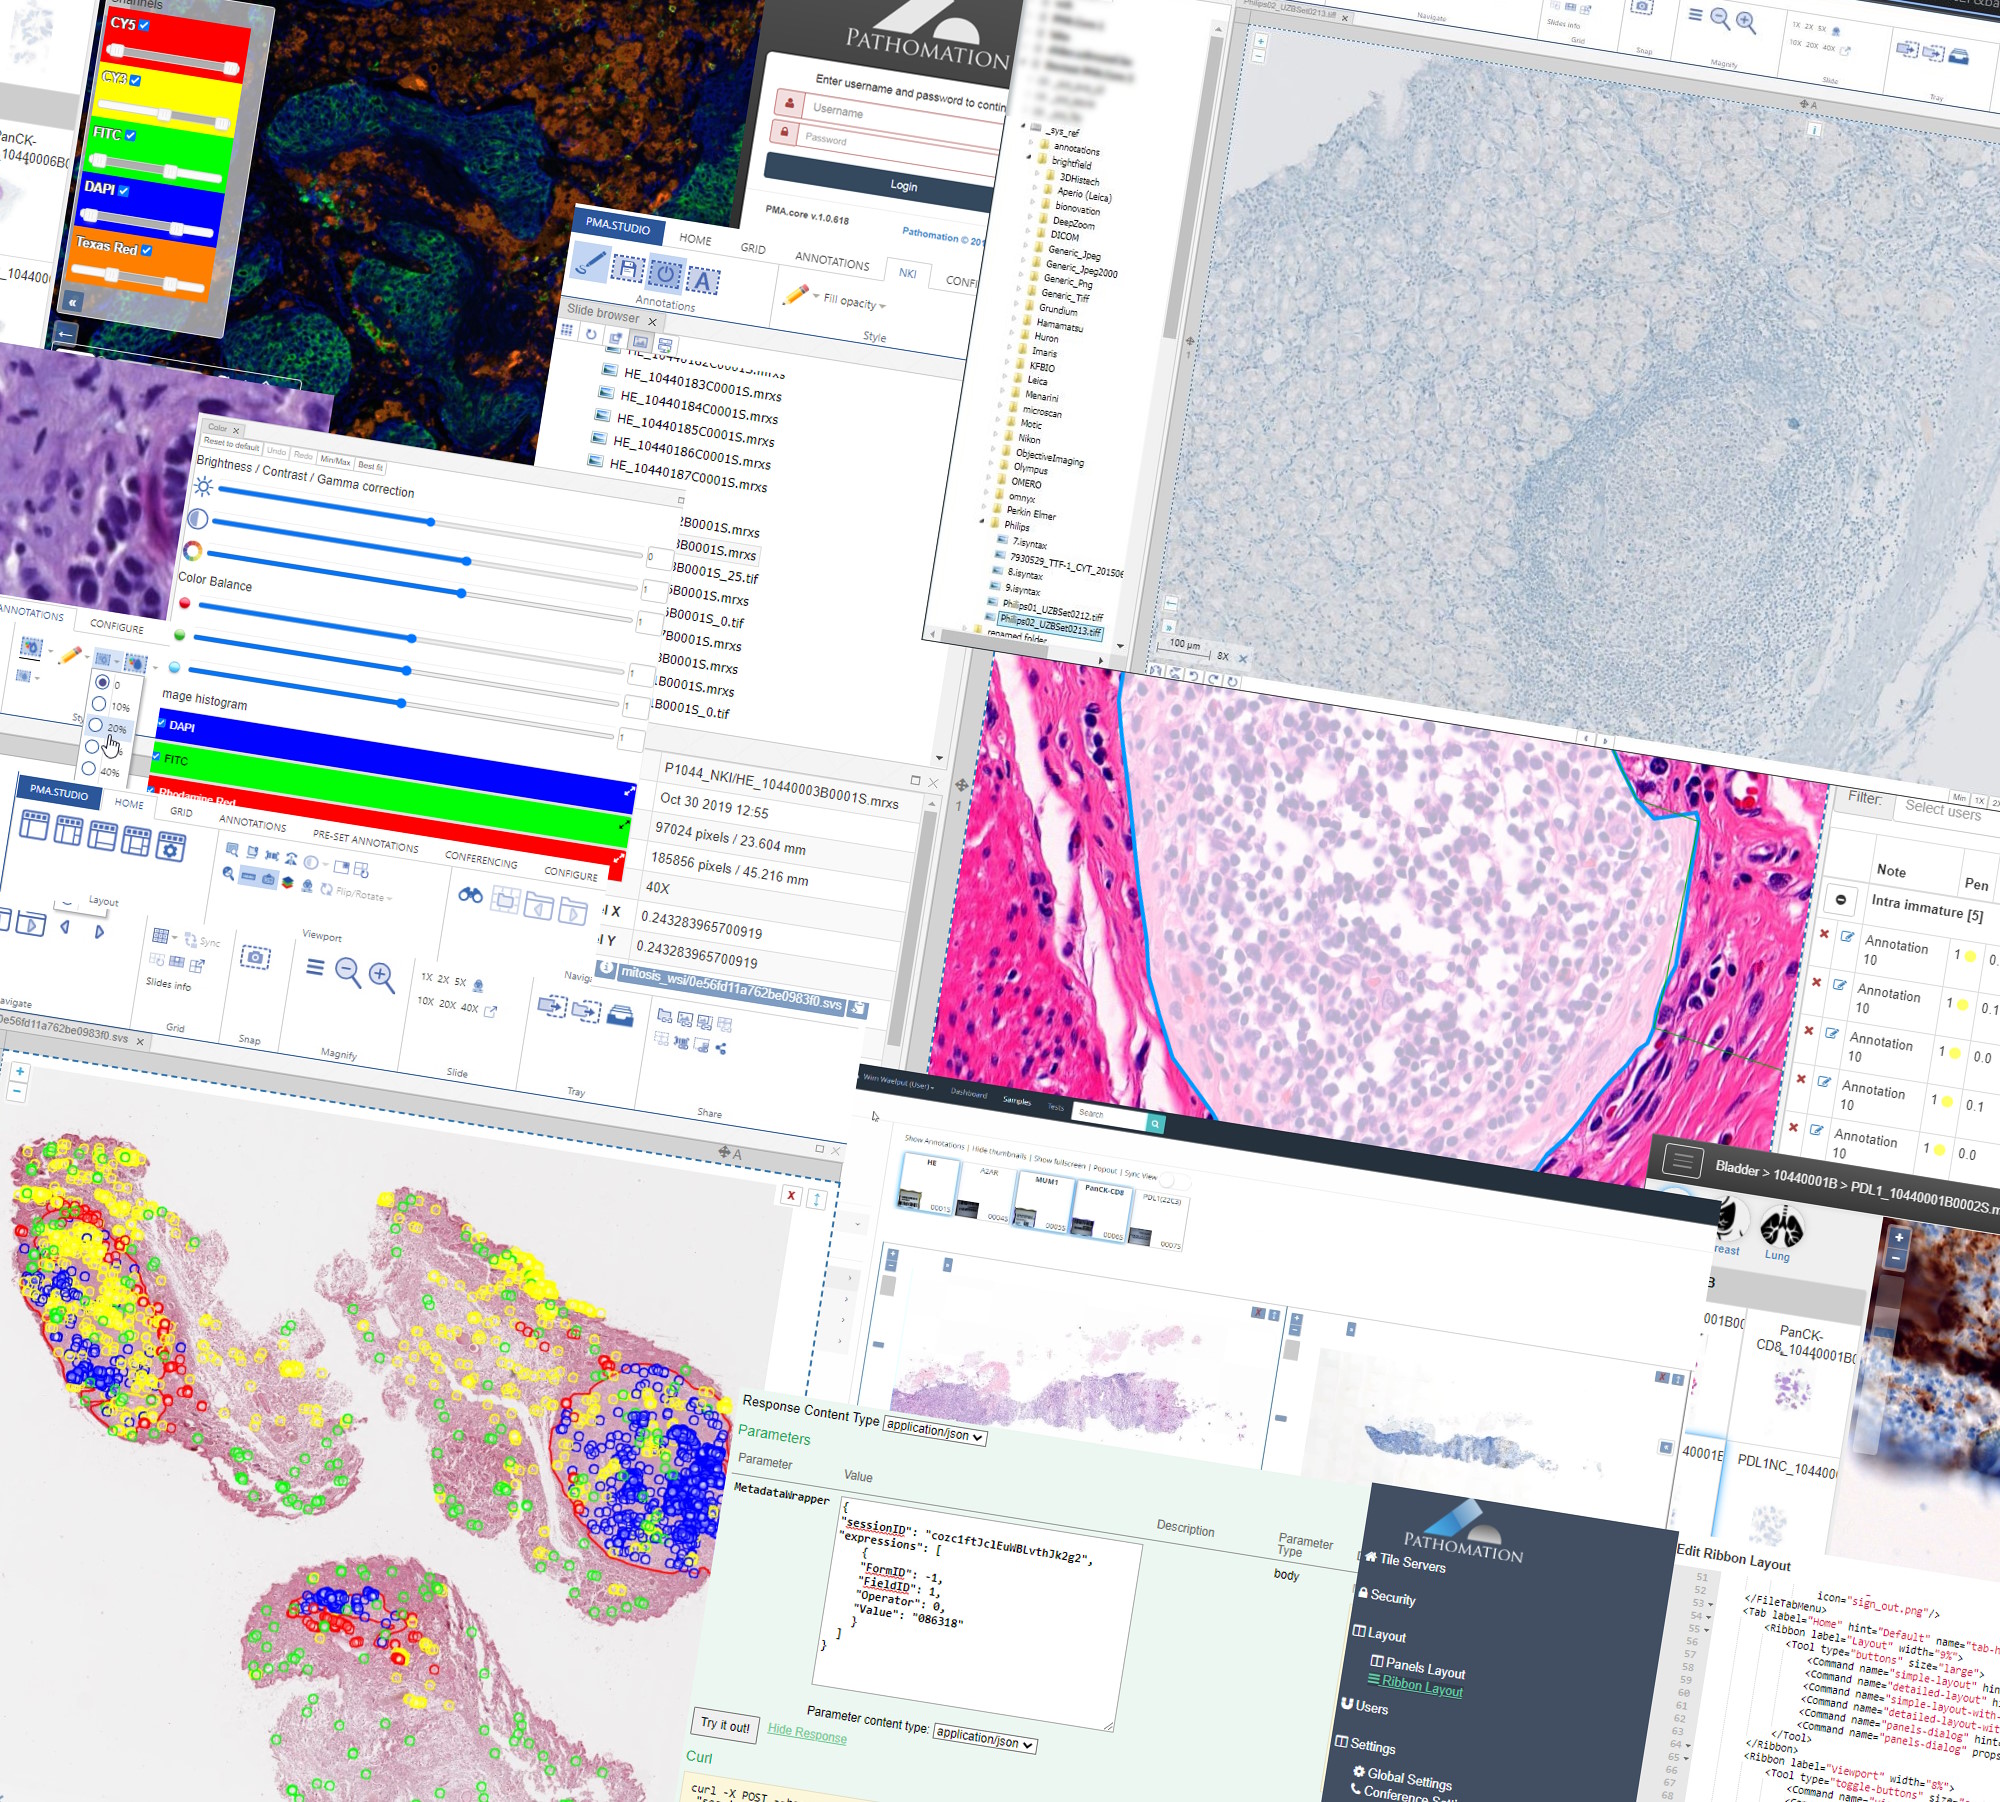
PMA.UI is a Javascript library that provides UI and programmatic components to interact with Pathomation ecosystem. I’s extended interoperability allows it to display WSI slides from PMA.core, PMA.start or Pathomation’s cloud service My Pathomation. PMA.UI can be used in any web app that uses Javascript frameworks (Angular.JS, React.JS etc) or plain HTML webpages.
As an example we will use Angular.JS and build an application based on PMA.UI. You can use an existing Angular.JS application or go on and use Angular’s demo application. Our application will have a tree that allows as to view and select directories and slides, a gallery that shows thumbnails of all slides in selected directory, and viewer for displaying selected slide.
First we have to install PMA.UI library using npm by running
npm i @pathomation/pma.ui
inside application’s directory.
Next step is to add JQuery in our app. Open index.html file inside src directory and add
<script src="https://code.jquery.com/jquery-3.3.1.js"
integrity="sha256-2Kok7MbOyxpgUVvAk/HJ2jigOSYS2auK4Pfzbm7uH60="
crossorigin="anonymous">
</script>
after closing body tag. Also we have to add PMA.UI‘s css for components to display correctly. We can do that by opening angular.json file and replace
"styles": [
    "src/styles.css",
],
with
"styles": [
    "src/styles.css",
    "node_modules/@pathomation/pma.ui/dist/pma.ui.css"
],
Now we can start modify PMA.UI component. Delete everything from components html file and add
<div>
    <!-- the element that will host the tree -->
    <div id="tree"></div>

    <!-- the element that will host the gallery -->
    <div id="gallery"></div>

    <!-- the element that will host the viewport -->
    <div id="viewer"></div>
</div>
These are the 3 main components we need. After that add
#tree {
    float: left;
    height: 100%;
    width: 20%;
    max-height: 95vh;
    overflow-y: scroll;
}

#viewer {
    float: left;
    height: 75vh;
    width: 80%;
}

#gallery {
    float: left;
    height: 20%;
    width: 80%;
}
in components css file and change if needed.
It’s time to implement component’s main functionality so open component’s ts file. First of all, we have to import OnInit function from @angular/core and PMA.UI
import { Component, OnInit } from '@angular/core';
import * as PMA from "@pathomation/pma.ui";
and change class to implement OnInit
export class MyComponent implements OnInit {Lastly we have to create PMA.UI‘s context, slideloader, gallery, and treeview functions and their eventListeners.
ngOnInit() {
    console.log("PMA.UI version: " + PMA.getVersion());

    // create a context
    var context = new PMA.Context({ caller: caller });

    // add a prompt authentication provider
    new PMA.AutoLogin(context, [{ serverUrl: url, username: username, password: password }]);

    // create an image loader component that will allow us to load images easily
    var slideLoader = new PMA.SlideLoader(context, {
        element: "#viewer",
        overview: {
            collapsed: true
        },
        // the channel selector is only displayed for images that have multiple channels
        channels: {
            collapsed: false
        },
        // the barcode is only displayed if the image actually contains one
        barcode: {
            collapsed: true,
            rotation: 180
        },
        loadingBar: true,
        snapshot: true,
        digitalZoomLevels: 2,
        scaleLine: true,
        filename: true
    });

    // create a tree view that will display the contents of PMA.core servers
    var tree = new PMA.Tree(context, {
        servers: [
            {
                name: "PMA.core",
                url: url,
                showFiles: true
            }
        ],
        element: "#tree",
        preview: true
    });

    // create a gallery that will display the contents of a directory
    var gallery = new PMA.Gallery(context, {
        element: "#gallery",
        thumbnailWidth: 200,
        thumbnailHeight: 140,
        mode: "horizontal",
        showFileName: true
    });

    // listen for the directory selected event by the tree view
    tree.listen(PMA.ComponentEvents.DirectorySelected, function (args) {
        // load the contents of the selected directory
        gallery.loadDirectory(args.serverUrl, args.path);
    });

    // listen for the slide selected event by the tree view
    tree.listen(PMA.ComponentEvents.SlideSelected, function (args) {
        // load the image
        slideLoader.load(args.serverUrl, args.path);
    });

    // listen for the slide selected event to load the selected image when clicked
    gallery.listen(PMA.ComponentEvents.SlideSelected, function (args) {
        // load the image with the context
        slideLoader.load(args.serverUrl, args.path);
    });
}
Build and run your application to check that everything works correctly. That’s it!
You can download complete demo here.
Additional developer resources are provided here.
